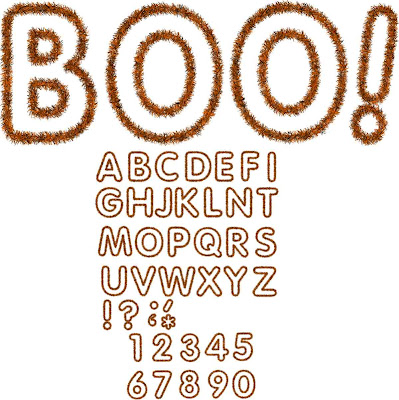
Jean, the dangerous thinker (in the comments) ... lol... suggested I make a Halloween Alpha of the fuzzy fibers.. So, as you see above... it's done... all caps, numbers, and a few others things. I saved each letter at 2" in height to keep the size of the file down.. as it was I had to split them into 3 files (I like to keep the files around 5mb for the dial up downloaders ... so this way you can lasso them and transform them (Control T) to any size you like...
Once again I'll give the credits for the tutorials that I followed... Digital Scrapbook Place tutorials I used the Fuzzy Fibers by Jamie Rousselle and then Using a Path to make a brush in Photoshop by Angie Svoboda
Halloween Alpha1
Halloween Alpha2
Halloween Numbers
Halloween Alpha2
Halloween Numbers
dianagrind wanted a Red & Black O & U for Oklahoma University..
Hopefully you have Photoshop... (I'm sure there's some way to do it in PSP) you can re-color the letters & numbers... Here's how to do it in Photoshop:
Open the Alpha or Numbers...
Lasso (Lasso tool in your tools palette) & move the letter you want to a New File (I use 12x12 at 300pi)
Control T (transform) ... grab the handles and enlarge it as far as it'll go to fill the 12x12 file
Double click inside the transform box to close the transform
Control U (Opens the Hue/Saturation window)
Adjust the Hue... a setting between -22 and -31 gives you Red & Black
When you have the color you want... click OK
OR:
Open the Alpha or Numbers...
Lasso & move the letter you want to a New File (I use 12x12 at 300pi)
Control T ... grab the handles and enlarge it as far as it'll go to fill the 12x12 file
Double click to close the transform
Open your Layers Palette (Window... Layers)
Click on the "f " icon at the very bottom of the Layers Palette
Choose Color Overlay
Blend Mode: Soft Light
Choose the color of your choice...
An interesting thing... if you choose Pink going down to the Blue colors... you get different gradings of Red & Black!!!!
Cheers!!

